How To Properly Inflate A Tubeless Bike Tire
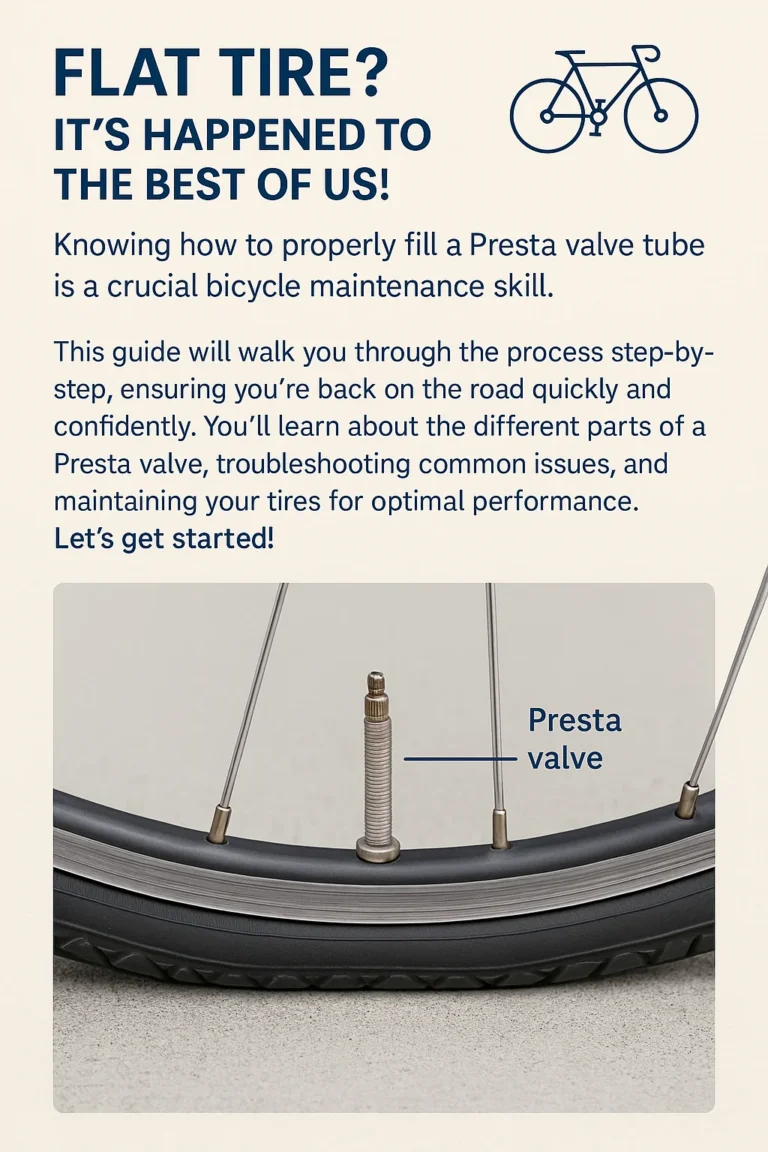
Remember that flat tire on your last ride? It left you stranded and frustrated, right? Learning how to air up a tubeless bike tire properly can prevent this inconvenience and keep you riding. This guide will teach you the essential steps and techniques, helping you confidently handle tire inflation and avoid common mistakes. You’ll learn about the different tools, pressure levels, and troubleshooting tips to ensure your tires are always optimally inflated for a smooth, safe ride.
Understanding Tubeless Tire Technology
Tubeless tires offer many advantages over traditional tube-type tires, including reduced rolling resistance, better puncture resistance, and a smoother ride. However, properly inflating a tubeless tire requires a slightly different approach than inflating a tire with an inner tube. This section will cover the basics of tubeless tire technology and how it affects inflation.
Airtight Seal
- A proper seal between the tire, rim, and sealant is crucial for maintaining air pressure. A poorly seated tire bead or insufficient sealant can lead to slow leaks or complete deflation. The bead is the edge of the tire that sits against the rim.
- Make sure the tire bead is properly seated in the rim’s channel, as this is essential for creating an airtight seal and preventing air leaks. If you hear a hissing sound after inflation, the bead is not properly seated.
Sealant Function
Tubeless tire sealant acts as a secondary barrier against punctures. It’s a liquid sealant poured into the tire that seals small punctures and holes as they occur. Without sealant, even a tiny hole will cause a slow leak that can become a serious problem.
- The sealant’s viscosity (thickness) impacts its effectiveness. Thicker sealant may seal larger holes better but could hinder tire rotation. Thinner sealant flows more readily, but may not seal larger punctures as effectively.
Proper Inflation Pressure
Maintaining the correct tire pressure is vital for optimal performance, comfort, and safety. Too low pressure increases the risk of pinch flats and reduces rolling efficiency. Too high pressure reduces comfort and increases the risk of rim damage. Check the tire sidewall for the recommended pressure range. It will typically be in PSI (pounds per square inch).
Tools and Equipment for Inflating Tubeless Tires
You’ll need the right tools for a successful inflation. While a simple floor pump can work, specialized tools and equipment make the process easier and more efficient. The wrong tools can even damage your tire.
High-Volume Air Pump
- A high-volume pump is essential because tubeless tires often require a significant burst of air to seat the tire beads properly. A standard floor pump might not provide enough air pressure quickly enough.
- Look for pumps that are specifically designed for tubeless tires and have a high volume output. These pumps are usually designed with a larger barrel to handle the higher volume of air required.
Tubeless Tire Inflator (Optional)
A dedicated tubeless tire inflator can make the process even easier, especially for stubborn tires. These devices offer extremely high air pressure in short bursts, dramatically increasing your chances of successful bead seating. This is especially helpful with wider rims and stiffer tires.
Tire Levers (Optional)
- Tire levers are used to help seat the tire bead onto the rim. While not always necessary, they can assist if you’re having difficulty seating the bead, especially for stiffer tire sidewalls and wider rims.
Step-by-Step Guide: How to Air Up a Tubeless Bike Tire
Now for the main event! These steps will guide you through the process of safely and effectively inflating your tubeless tire.
Inspecting the Tire and Rim
- Before starting, check your tire and rim for any damage, debris, or foreign objects that could interfere with proper sealing. Ensure the valve core is properly seated in the valve stem.
Adding Sealant (If Necessary)
If your tire is new or has not been recently serviced, add tire sealant to the tire. Make sure to follow the product instructions for the amount and procedure. You’ll typically inject the sealant through the valve using a special fitting or by unscrewing the valve core.
Seating the Tire Beads
- Make sure the tire bead is partially seated on the rim. This is typically easier on one side than the other. Use tire levers if needed to help get a good start.
- Start inflating the tire with short, quick bursts from your air pump. The tire bead will snap into place with a loud pop as it seats. If the bead doesn’t pop, continue to add pressure, and check that it is seated correctly. If it is still resisting, you might need a more powerful air pump or tubeless inflator.
Checking Tire Pressure
- Once the beads are seated, use a pressure gauge to ensure that your tire is inflated to the recommended pressure found on the tire’s sidewall. This pressure is essential for optimum performance and safety.
Additional Tips for Difficult Tires
Sometimes, the tire beads can be difficult to seat. If you’re struggling, try using soapy water along the bead seat to help lubricate the bead and seal any small imperfections.
Troubleshooting Common Tubeless Tire Issues
Even with proper technique, you might encounter problems. This section will help you diagnose and fix common issues.
Slow Leaks
- Slow leaks are often caused by punctures, inadequate sealant, or a poorly seated tire bead. If your tire slowly loses pressure, check for punctures, add more sealant if necessary, and ensure the tire beads are properly seated.
Bead Not Seated
If the tire bead won’t seat, it could be due to a damaged rim, an improperly sized tire, or simply stubborn tire beads. Ensure your tire is the correct size for your rim and try using a high-volume pump or tubeless inflator. Sometimes, using soapy water around the tire bead will help get it to seat properly.
Myths Debunked
Myth 1: Tubeless tires are difficult to maintain.
While there is a learning curve, basic maintenance is straightforward once you understand the system. It is much easier than repairing a flat tube.
Myth 2: Tubeless tires are always more expensive.
While the initial cost of tubeless setup can be higher, the cost savings from reduced flat tires can negate this over time.
FAQ
What is the recommended inflation pressure for my tubeless tire?
Check the sidewall of your tire for the manufacturer’s recommended pressure range. This range is crucial for optimal performance, safety, and avoiding damage.
What should I do if my tubeless tire keeps losing air?
First, inspect the tire for punctures. If you find any, use tire sealant. Then, check that the tire beads are correctly seated on the rim. If there are no punctures, you may need to add more sealant or replace the sealant.
Can I use a standard floor pump to inflate my tubeless tires?
It’s possible but more challenging. A high-volume pump is highly recommended for seating the beads efficiently and making the process significantly easier.
What happens if I overinflate my tubeless tire?
Overinflation can lead to rim damage, reduce comfort, and increase the risk of pinch flats, which are punctures caused by a sudden pressure change.
How often should I check my tubeless tire pressure?
It is best to check pressure before every ride and periodically throughout the week depending on your riding conditions and frequency.
Final Thoughts
Mastering the art of how to air up a tubeless bike tire significantly improves your cycling experience. With the right tools and techniques, you can confidently handle tire inflation, preventing frustrating flat tires and ensuring smooth rides. Remember to always check your tire pressure regularly and address any issues promptly. Happy riding!


